


How to Plant Flowers in Pots and Containers
.png)
Garden pots and containers are an essential to any garden design. The beauty of a pot or container is that they require very little space making them ideal for use on balconies and many urban areas where garden space is limited. Pots can be easily moved allowing you flexibility to display them wherever you desire around your garden. Pots and containers look beautiful featured on decking and any patio area. In this guide we offer some helpful tips on how to plant flowers in your own containers.
You can be as creative as you like with your garden pots and containers as there are many different sizes, styles and designs available. You should select one that will complement your current garden design without overpowering it. Ideally Summer flowers should be planted when there is little risk of frost the best time for this is either late Spring or in the Summer months. If you are planting earlier on in the season you could keep your containers in a greenhouse (if you have access) you should then look to bring them out during the daytime and return them back into the greenhouse at night. You should carry this out for a few weeks, this will help the plants acclimatise to the temperature.
Preparation:
If you are using a pot or container that you have used in previous seasons you should ensure that it is thoroughly cleaned. If you were to leave traces of soil in the bottom of the pot this could have diseases and even pests which you would then be transferring into your new display. Generally lighter coloured plant pots develop white streaks on the inside, these can easily be removed with a damp cloth and some washing up liquid.
If you were planning on moving your pots or containers around your garden you should opt for a container that is going to be easy to lift. Plastic is lightweight and would be easy for you to carry once compost has been added. Some materials like resin are perfect as they can protect your plants from any frost, they also do not absorb the moisture that is needed by your plants. If you are planning on using a clay pot we would suggest you soak the pot before planting to ensure it has soaked up a sufficient amount of moisture.
Filling:
Drainage holes are extremely important, Summer plants can easily dry out in hot weather therefore you must create satisfactory drainage holes. To avoid the holes becoming blocked we would advise that you place a material over the holes.
When it comes to filling your pots we would advise you not to use the soil from your garden. This soil will not have enough nutrients in order for your plants to grow and become healthy. The soil may also contain harmful diseases that could affect the growth of your plants. Instead you should use a specialised compost that has been designed for use in pots and containers.
You should then begin to add the specialised compost to your containers. If you have a large container and are planting bedding you may wish to pack some polystyrene at the bottom of the container. When filling the pot with compost you should look to leave a gap at the top around 2cm for watering space. Once the pot is filled you should lightly firm the compost.
Planting:
Ideally you should have already chosen the plants you are going to use in the container. You should begin to thoroughly soak these plants. This will give them the necessary moisture before you plant them. If you are unsure on how you are going to display your plants you could lay them out on top of the container in their original pots to see what design looks best.
You should then remove your first plant from its pot, preferably the plants root should practically touch the outside of the container, this demonstrates that the plant has strong roots that are growing well.
Start by placing your first plant in the centre of your container. You should begin by making a hole that is large enough for the plant and its roots, you could use the plants original pot as a guideline for the depth of your hole. Begin to lower the plant into its hole and then firm the compost around it. You should repeat this process for your plants, additional plants should be placed around the centre plant. If you were feeling creative you could also add a mulch of decorative gravel. Decorate gravel can complement your plants and help finish of the overall look of your container. At Gravelmaster we stock a large range of decorative gravel and slate in a range of colours and design.
Once all flowers are planted you should ensure the compost is level and water them thoroughly. Make sure you place your containers in an area that receives lots of sunlight. You must then keep on top of watering your containers especially if it has been a hot, sunny day.
If you follow each stage you should end up with a beautiful display in your containers.
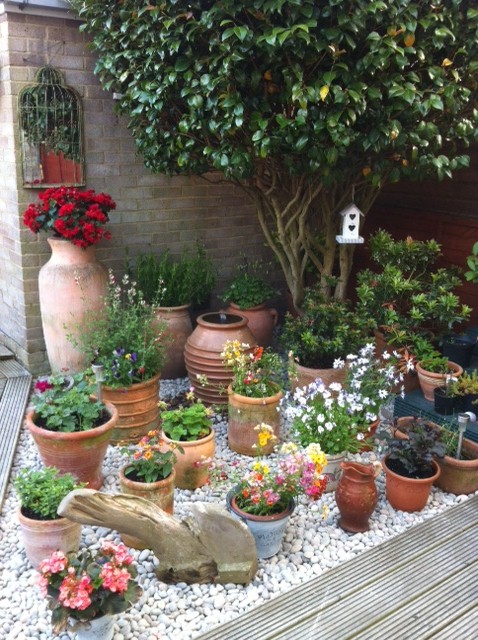
The above image is a picture we received from one of our customers, showing their wonderful flower display complemented by our 20-30mm Scottish Cobbles. At Gravelmaster we love receiving customer photographs. If you would like to send us a photograph of your own pots or containers please email images to sales@gravelmaster.co.uk.