


10 easy steps to lay your Top Soil
Top Soil is a necessity for every garden although people struggle to understand which topsoil will help their garden project the most. When it comes to laying your top soil, it has to be perfect to make an impacted improvement on the overall look of your garden, doing this incorrectly can cause little or small improvement. Hopefully our guide will allow your garden to flourish this summer!
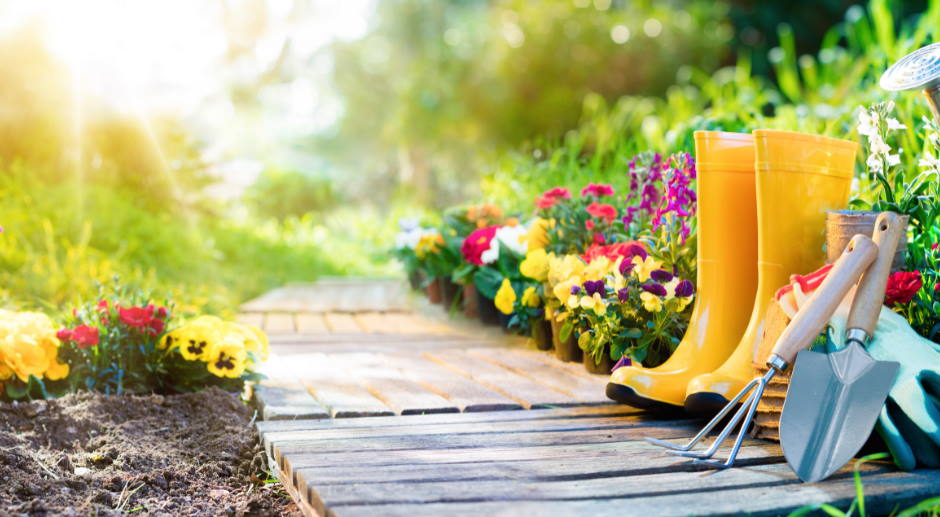
First of all we will need to discuss which tools you will need as a requirement to lay the right amount of topsoil for your garden. These are basic tools that a beginner gardener should already have stored in their shed.
Now you have gathered the correct tools, we will now explain to you the quickest and most efficient way of laying top soil.
1 – Firstly, getting started is easy if you’ve got all your required tools. All you need now is your topsoil! We have an extensive range of topsoil in stock suitable for your requirements from Vegetable soil, Beds & Borders, Premium Gold Soil and Multi-Purpose.
If you require topsoil for a bigger area then our customer service team are on hand to advise.
2 – Make sure that your work area is clear of all materials that could affect the project in the long run of your garden development. Removing the materials will allow for an easy process and a shorter working time, which in the long run will be worth it.
3 – If you have a large area to work with, then mount small piles of topsoil around the working area. This will speed up your working time and make the overall process easier. If you have a small working area create 2 or 3 piles.
4 – Using a shovel and a rake evenly spread about the top soil, through your whole working area, until you have evenly proportioned layers around 4-6 inches thick from the first point.
5 – Measure out your top soil to make sure it is around 4-6 inches. We know this is quite fiddly but we can’t express enough how much of an important part this is to the entire process. Making sure you have a enough small piles of topsoil in your allotted area this will make it easier to lay the top soil.
6 – Move your tiller up to the edge of your topsoil and fix the blade depth to as deep as you can get it. Activate the tiller and run it over your top soil a number of times making sure that it is mixing with any underlay below your new topsoil.
7 – After this has been completed use your small rake to go over the fresh top soil making sure that it is evenly spread out across the working area and as smooth as can be.
8 – A smaller roller will have to be hired to ensure that you have a smooth, even and compact area.
9 – After you have completed rolling your top soil leave for a bit and give it time before using a sprinkler to water the fresh top soil.
10 – Your new top soil is now laid and is perfect for planting your vegetables and flowers and providing an excellent environment for them to grow in.
You have now finished the Gravel Master guide on ‘How to lay Top Soil’, all of these tips in this guide will make sure your topsoil is evenly laid every time and ensure that your garden is the best environment for your vegetables and plants to grow.
Follow these 10 simple tips on “how to lay top soil” for long lasting success.
First of all we will need to discuss which tools you will need as a requirement to lay the right amount of topsoil for your garden. These are basic tools that a beginner gardener should already have stored in their shed.
Here are the tools of requirement:
- Sack Truck (optional)
- Rake
- Shovel
- Ruler
- Tiller
Now you have gathered the correct tools, we will now explain to you the quickest and most efficient way of laying top soil.
1 – Firstly, getting started is easy if you’ve got all your required tools. All you need now is your topsoil! We have an extensive range of topsoil in stock suitable for your requirements from Vegetable soil, Beds & Borders, Premium Gold Soil and Multi-Purpose.
Best Sellers
If you require topsoil for a bigger area then our customer service team are on hand to advise.
2 – Make sure that your work area is clear of all materials that could affect the project in the long run of your garden development. Removing the materials will allow for an easy process and a shorter working time, which in the long run will be worth it.
3 – If you have a large area to work with, then mount small piles of topsoil around the working area. This will speed up your working time and make the overall process easier. If you have a small working area create 2 or 3 piles.
4 – Using a shovel and a rake evenly spread about the top soil, through your whole working area, until you have evenly proportioned layers around 4-6 inches thick from the first point.
5 – Measure out your top soil to make sure it is around 4-6 inches. We know this is quite fiddly but we can’t express enough how much of an important part this is to the entire process. Making sure you have a enough small piles of topsoil in your allotted area this will make it easier to lay the top soil.
6 – Move your tiller up to the edge of your topsoil and fix the blade depth to as deep as you can get it. Activate the tiller and run it over your top soil a number of times making sure that it is mixing with any underlay below your new topsoil.
7 – After this has been completed use your small rake to go over the fresh top soil making sure that it is evenly spread out across the working area and as smooth as can be.
8 – A smaller roller will have to be hired to ensure that you have a smooth, even and compact area.
9 – After you have completed rolling your top soil leave for a bit and give it time before using a sprinkler to water the fresh top soil.
10 – Your new top soil is now laid and is perfect for planting your vegetables and flowers and providing an excellent environment for them to grow in.
You have now finished the Gravel Master guide on ‘How to lay Top Soil’, all of these tips in this guide will make sure your topsoil is evenly laid every time and ensure that your garden is the best environment for your vegetables and plants to grow.