How to build a Play Pit Area

How to create a play pit: 


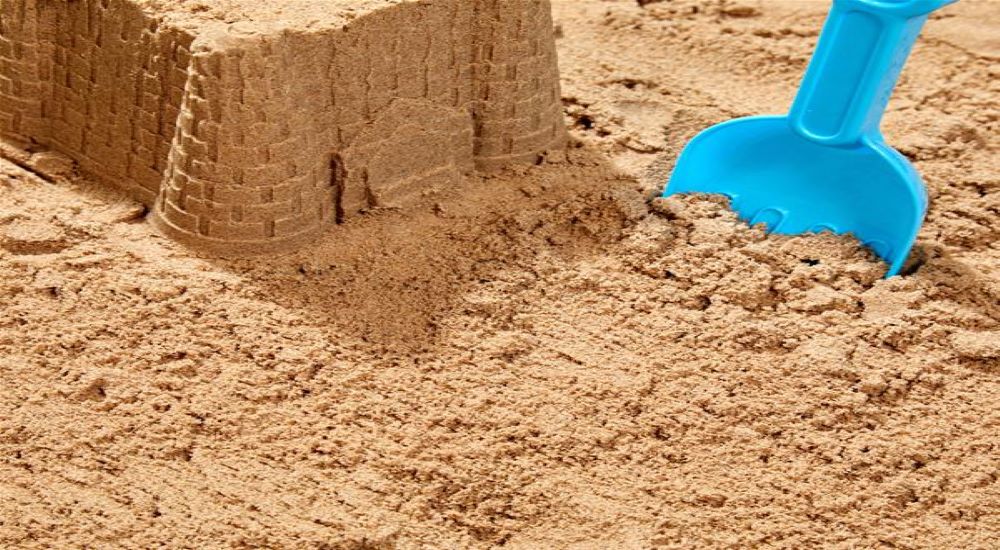
Have some empty spaces in your garden that you are unsure on how to utilise it? Why not create a play area for your kids to keep them occupied during the summer holidays, it is gets them off the sofa and to put their electronics down to enjoy some fresh air in the garden whilst having them feel like they are at their local park. This guide will show you how to create a Play Sand pit or an area with sand to go under a swing set or climbing frame. This can be created at any size and is affordable to do so.? 


What is play sand? 


Here at Gravel Master, we pride ourselves in supplying premium quality products even down to the sand we provide. Our Play Sand has been tested to BS EN 1177 standards and testing certificates can be provided upon requests. The sand is put through several cycles of pressure washing to remove and residue, dangerous materials and to wash out any iron oxide. This also benefits the quality of sand as it makes sure that the sand is as soft and fine as possible by removing the sharp edges, this means if your child were to get some sand particles in their eyes it is not as harsh as regular sand and will be easier to remove. As the sand it non-toxic it is also safe for pets to be around too, it also does not stain clothes, hands, or feet. This differs from regular building sand as the soft quality cannot hold shape for building purposes. 

 ?

How to build the Sand Pit: 


Once you have worked out where the sand pit will be going and calculated the size of the pit you are wanting to create you can start preparing the ground. Start being digging up any soil and debris in the chosen area, you should aim to do this at a dept of 7.5cm as a minimum as this is the legal requirement when making a play pit. This is because if your child were to fall from a hight onto the sand pit the impact is not as detrimental as the sand will act more of a cushion. Once the area is fully clear we would then recommend using a Weed control membrane to be placed underneath the sand. This will stop any unwanted weeds to keep sprouting through the area whilst helping with drainage, so you will not find any big bubbles forming after a rainy day. We supply this in our 1- and 2-meter widths but can easily be cut up to fit any sized area.? 


If you are creating the edging by yourself this can be done using 4 pieces of wooden timber, large rockery if you feel like this would be more well suited to your area or a ready-made plastic sand pit if you are not wanting to use such a wide area of your garden for this. Make sure you have the exact measurements of the area as you will not want to get the wrong size or number of materials to help you form this. If you are wanting to use timber do not forget to sand down and treat the area so there is less chance of getting splinters and that you will get more longevity out of the wood as it will stand a better chance in surviving harsh weather conditions. 


Once you have our edging down it is now time to fill the area. Depending on the size you have gone for this can either be tipped by a truck or manually moved from the bag with a shovel. We supply the play sand in our 850Kg bulk bags or our 50 x 20Kg sealed bags stacks up equating one tonne on a pallet. Use the shovel to move the sand around the area and evenly laying it out and patting it down. Then you are onto the finding touches if you can place toys, buckets, and spades into the pit ready for the kids to have endless amounts of fun! 


You can also purchase a sample of the Play Sand if you are wanting to have a tester of the quality of what is yet to come. Wanting to order 10 tonnes and above? Give our sales team a call on 0330 058 5068 and they can give you a quote on having a loose load if this would be easier than the bulk bags.