Laying Membrane
If you''re thinking of laying a new path or decorative border, the last thing you want is for the
gravel to become dirty and weeds to grow through. Our high quality woven
weed control membrane is perfect for preventing weeds, unwanted growth as well as keeping gravel clean and in place. We have created a step by step process to help you lay your membrane and guide you through the process.
Step 1 - Choosing the correct membrane for the job
You can purchase permeable membranes in different thicknesses; for light domestic projects such as
beds and borders or an area with light footfall, the thinner varieties are a good option. They''re easier to cut to your desired shape and size and they help keep the soil beneath healthy, by allowing air permeability and water to pass through and will retain moisture levels without drowning plants.
If you have purchased sharp angular gravel or the area you''re laying will receive heavy footfall, thicker geotextile membranes are available. Although they are harder to cut and shape, they are more resistant to damage and will still allow the needed nutrients and water to pass through to the keep soil healthy.
Although weed control membranes are extremely effective at reducing unwanted growth, they do not eliminate the need for surface weeding from such things as seeds dropped from birds. In areas prone to very invasive or aggressive weeds/grasses such as Mare’s Tail, Bindweed, Crocosmia, Ground Elder, Couch Grass, nettles and brambles, make sue to apply a weed killer first and a double layer of membrane.
Our
woven geo fabric polypropylene membranes are the perfect thickness for all gardening and landscaping jobs, thin enough to cut and shape but thick enough to be durable and long lasting. The woven geotextile fabric can be used for weed suppression, ground stabilisation in both soft and hard landscaping schemes. Our membranes can be used beneath
MOT Type 1 or 3 aggregate, sharp/angular stone and gravel, including areas subject to pedestrian or vehicular traffic such as pathways, patios and driveways. They are available in a variety of sizes: 1m x 15m, 50m & 10.mm, or alternatively, 2m x 10m, 20m, 50m & 100mm.
For pathways we recommend using a gravel between 14mm and 20mm at a depth of 50mm, for driveways use a 20mm gravel at a depth of 50mm. Anything smaller than 20mm will breakdown quicker under the weight of cars and will get stuck tyre treads.
Step 2 - Clearing the area
Prepare the space by strimming down any existing vegetation to ground level, taking care to remove short stems and sharps rocks which could pierce the fabric, this applies to areas where the membrane will be used as a weed control membrane. If the membrane is going to be used as a ground stabiliser for block paving or patios, excavate soil to the required depth allowing sufficient room for a layer of sub-base, a base course layer and the final surface finish. Spray areas prone to weeds with a subtle weed killer.
Step 3 - Laying the membrane
Lay out the fabric to entirely cover the area and overlap any joints by a minimum of 100mm for suppressing weeds and 300mm for ground stabilisation, keeping as few overlaps as possible. Secure in place using our
Plastic Membrane Fixing Pegs or the
Galvanised Steel Weed Membrane Pegs by ''spitting'' or ''trenching'' the membrane 100-150mm into the soil. It is generally recommended that you use 1 peg for every 1m around the edges of the weed barrier, and along any overlapping edges. Cut away any excess fabric once the membrane is secured.
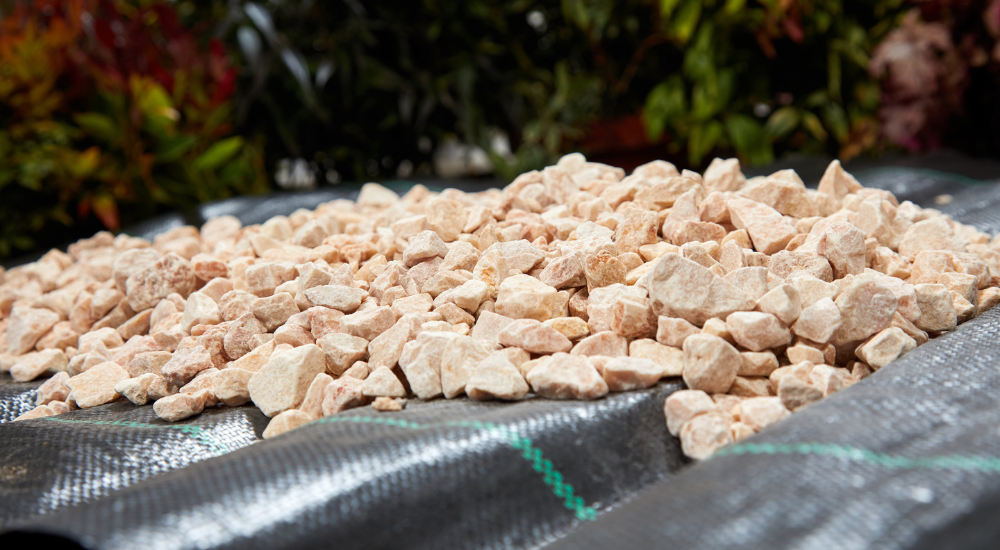
Step 4 - Laying the surface
One you have completed the first steps your membrane can then be covered with your chosen surface or gravel.
If you are planning on having a patio, you are now ready to lay the next layers, sub-base and base layer, before the final surface finish can be laid.
Should you need any help or advice, contact us on
0330 058 5068 8am-5pm. We love receiving customer photographs, if you have any tips for laying a membrane or have completed this job yourself, send us a photo to
customerservices@gravelmaster.co.uk and we will feature it on our social media pages.


